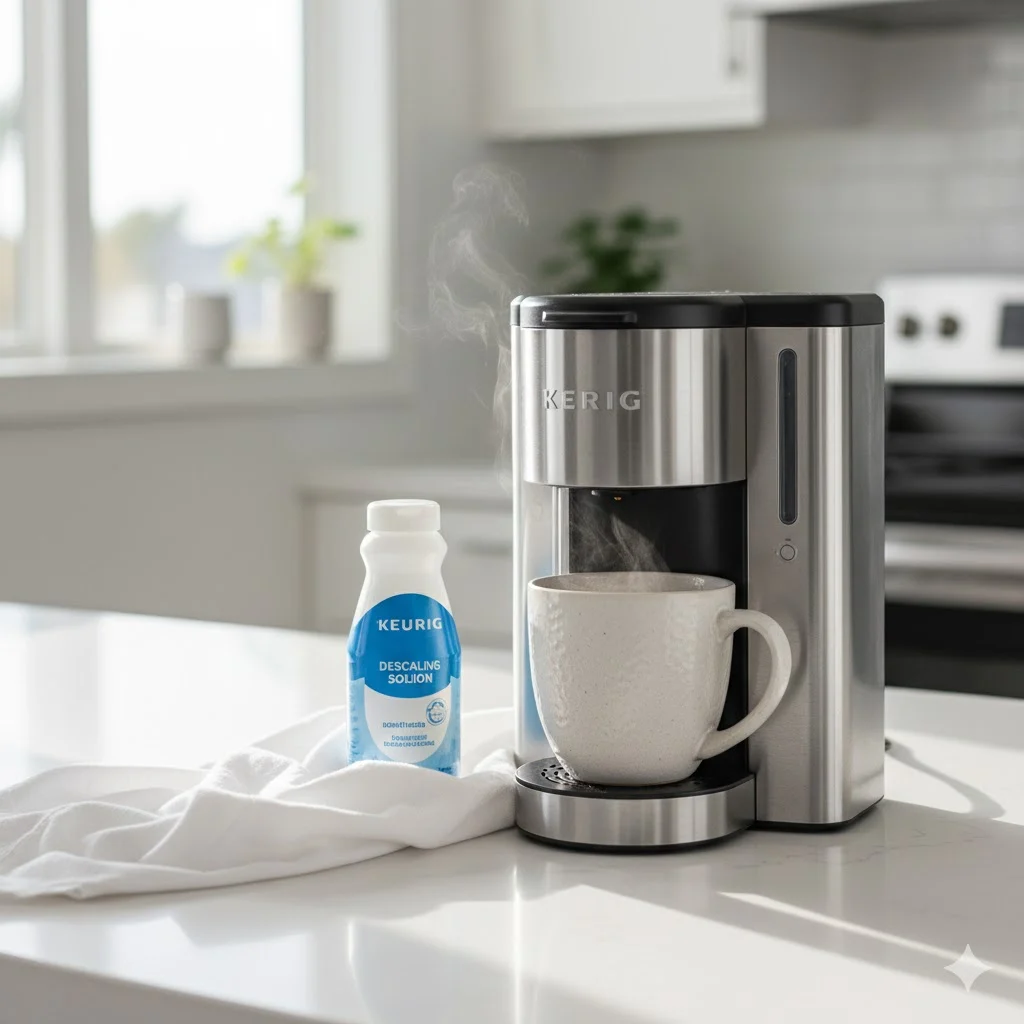
If your Keurig coffee maker has started brewing slowly, making strange noises, or producing bitter coffee, it’s likely due to mineral buildup inside the machine. This mineral deposit, commonly called scale, comes from calcium and magnesium in water and can damage your Keurig over time.
In this guide, we’ll cover everything you need to know about descaling a Keurig—from tools and step-by-step instructions to advanced tips and troubleshooting. By the end, your Keurig will brew like new.
Why Descaling Your Keurig Is Essential

Many users ignore descaling because their coffee machine seems to work fine. However, scaling can lead to:
- Poor coffee flavor: Scale buildup blocks water flow, resulting in under-extracted or bitter coffee.
- Machine damage: Over time, mineral deposits can clog the pump and internal tubing.
- Longer brewing times: Clogs slow down water flow, increasing brew time.
- Potential leaks: Excessive scaling can cause water to pool inside the machine.
Tip: Descale every 3–6 months or when your Keurig displays a “Descale” alert. If you use hard water, you may need to descale monthly.
Signs Your Keurig Needs Descaling

- Coffee tastes bitter or watery.
- Brewing takes longer than usual.
- Water leaks or pools around the machine.
- “Descale” notification appears on the screen (for newer models).
- Strange noises during brewing.
Ignoring these signs can shorten your Keurig’s lifespan and make your coffee taste inconsistent.
Tools and Materials Needed for Descaling
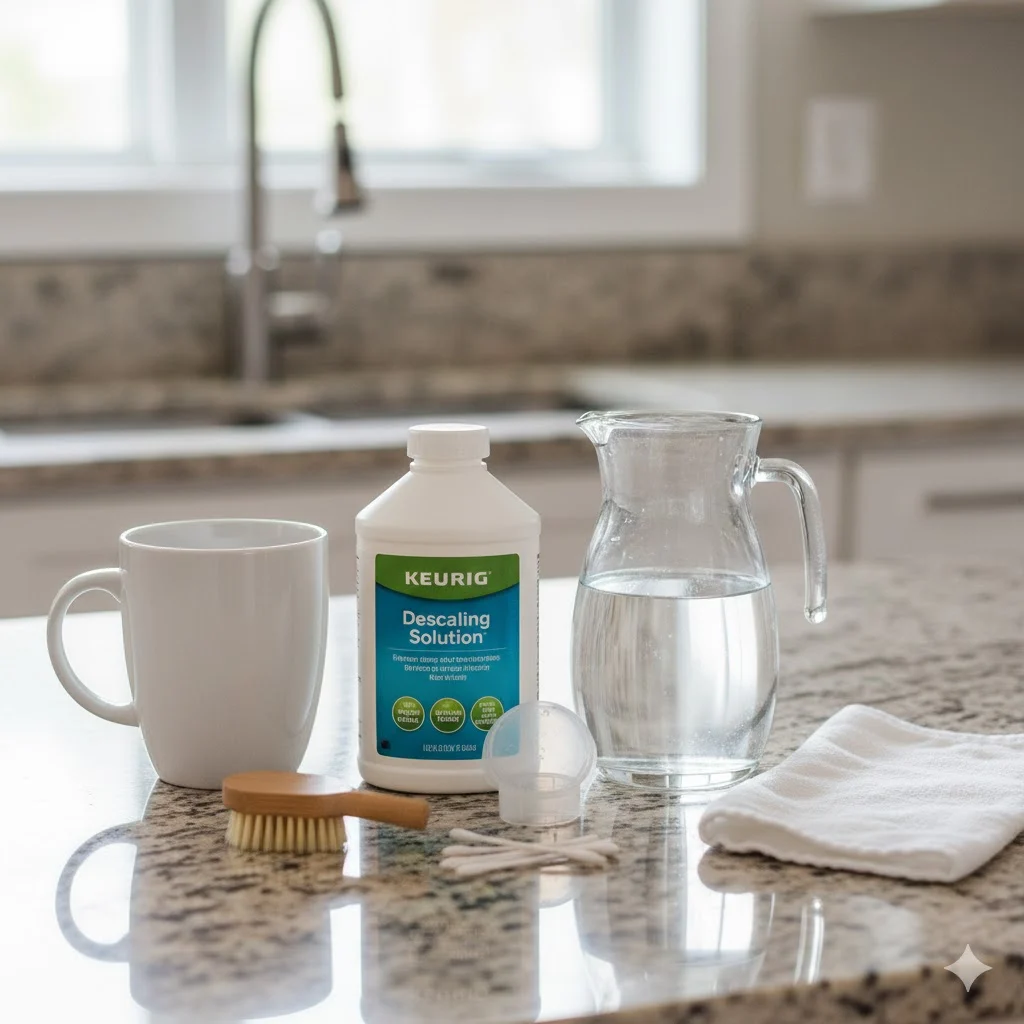
- Keurig descaling solution (recommended) or white vinegar
- Large mug for brewing
- Fresh water for rinsing
- Clean cloth for wiping and maintenance
- Optional: small brush or cotton swab to clean needle and crevices
Pro tip: Use filtered water to reduce mineral buildup, which will extend the time between descaling sessions.
Step-by-Step Guide: How to Descale Your Keurig
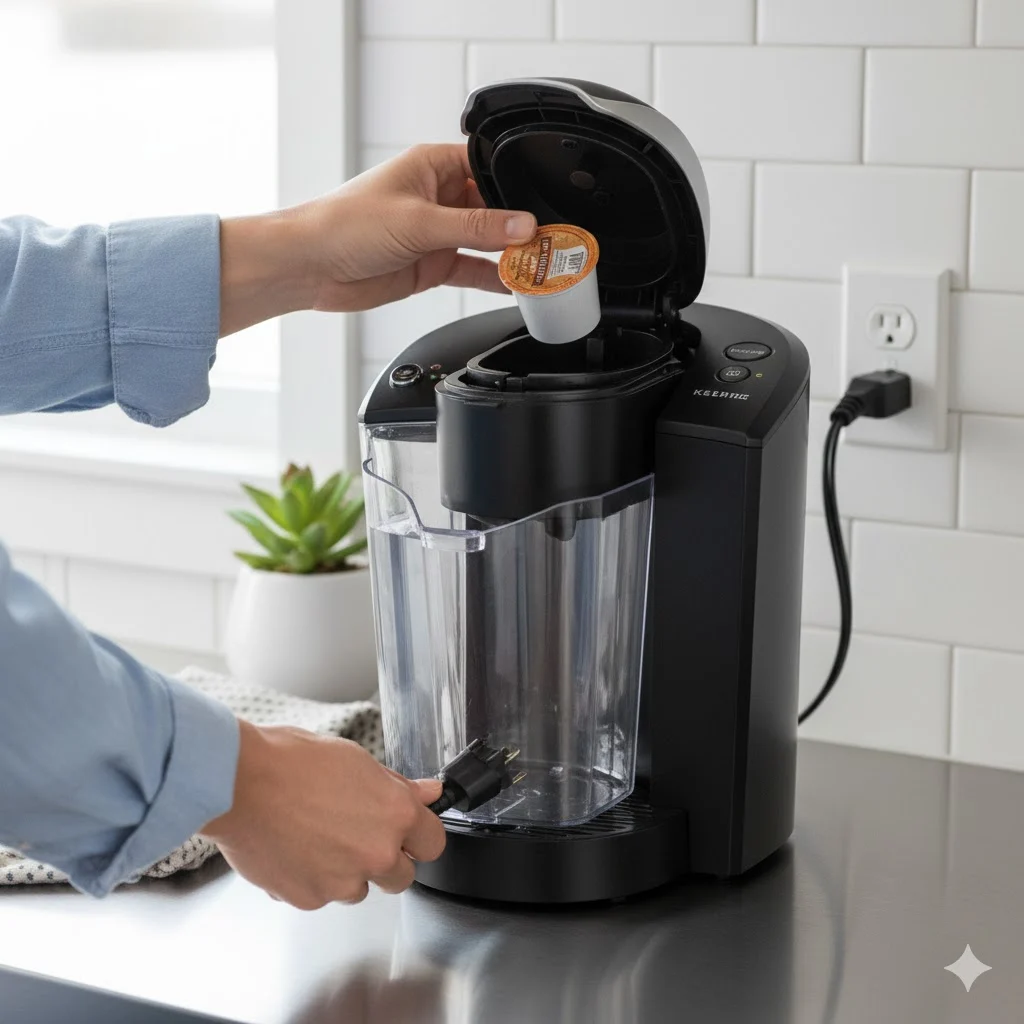
Step 1: Prepare the Machine
- Turn off and unplug your Keurig.
- Remove any K-Cup pods.
- Empty the water reservoir completely.
- Wipe down the reservoir and exterior to remove dust and residue.
Step 2: Add Descaling Solution or Vinegar
- Pour the Keurig descaling solution into the reservoir.
- If using vinegar, fill the reservoir with a 1:1 mixture of white vinegar and water.
- Fill the rest of the reservoir with fresh water to the maximum fill line.
Using the official Keurig descaling solution is generally safer and less likely to leave odors.
Step 3: Start the Descaling Process
- Place a large mug on the drip tray.
- Brew a cup without inserting a K-Cup pod.
- Discard the liquid into the sink.
- Repeat until the reservoir is empty, pausing if your machine’s instructions require.
Tip: Some Keurigs have a “Descale Mode” — activating this mode ensures optimal cleaning.
Step 4: Clean the Needle and Reservoir
- While descaling, check the needle (where K-Cups are punctured) for clogs.
- Use a paperclip or cotton swab to remove coffee residue.
- Clean the reservoir with warm, soapy water after descaling.
Step 5: Rinse Thoroughly
- Fill the reservoir with fresh water.
- Brew multiple cycles (without a K-Cup) to remove any residual descaling solution or vinegar.
- Repeat until the water is clear and odor-free.
Tip: Skipping this step can leave a vinegar or chemical taste in your coffee.
Step 6: Clean the Exterior
- Wipe down the outside of the Keurig with a damp cloth.
- Wash the drip tray and lid to remove any leftover coffee or mineral deposits.
Advanced Tips for Maintaining Your Keurig
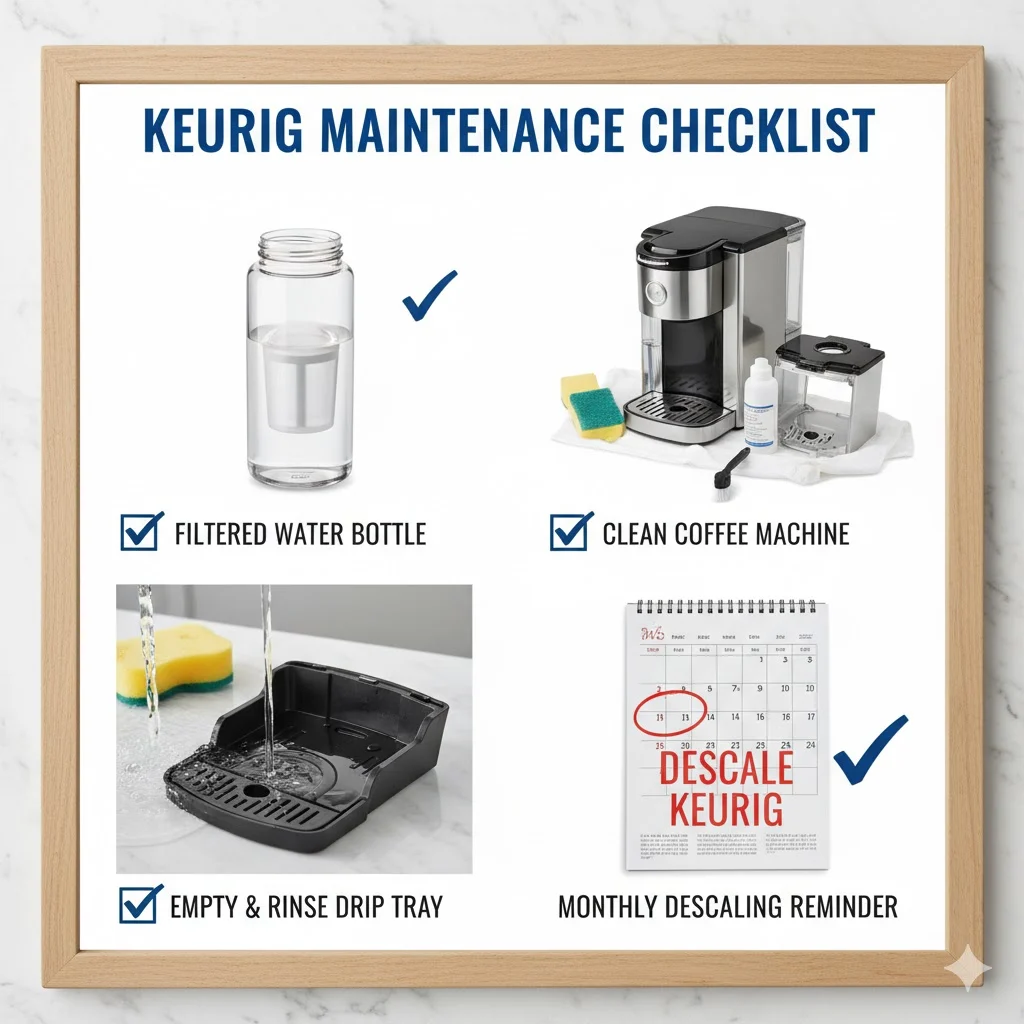
- Use filtered water instead of tap water to reduce scaling.
- Empty the water reservoir daily if the machine is unused.
- Regular cleaning: Wipe the exterior, clean the needle, and wash the drip tray weekly.
- Schedule descaling based on water hardness:
- Soft water: every 6 months
- Hard water: every 1–3 months
Troubleshooting Common Keurig Descaling Issues
Problem: Coffee tastes off even after descaling
- Solution: Rinse the machine multiple times and clean the needle. Hard water buildup may require a second descaling.
Problem: Machine still brews slowly
- Solution: Check for clogs in the K-Cup needle or internal tubing. Use a paperclip to clear puncture holes.
Problem: “Descale” light remains on
- Solution: Some Keurigs need a manual reset after descaling. Refer to your model’s instructions.
Problem: Vinegar smell persists
- Solution: Run additional rinse cycles with fresh water until odor is gone.
FAQs About Descaling a Keurig
Q: Can I descale my Keurig with lemon juice?
Yes, but vinegar or Keurig-approved solutions are more effective.
Q: How long does descaling take?
Typically 30–40 minutes, including rinsing cycles.
Q: Can I skip descaling if my machine works fine?
Not recommended. Mineral buildup can gradually damage your machine and affect coffee taste.
Q: Can I use hot water to speed up descaling?
No, always follow the recommended solution temperature. Hot water alone won’t remove scale effectively.
Final Thoughts
Descaling your Keurig is more than just maintenance—it’s a must-do step to preserve flavor, efficiency, and longevity. By following this detailed guide, you can ensure your coffee machine works like new and every cup tastes perfect.
Pro Tip: Keep a descaling schedule on your phone calendar to prevent neglect. A few minutes every few months saves you headaches and preserves the taste you love.