✅ Quick Answer:
- Press Ctrl + Show Windows (⧉) → Capture full screen
- Press Ctrl + Shift + Show Windows (⧉) → Capture part of the screen
- Press Ctrl + Alt + Show Windows (⧉) → Capture active window
- Screenshots save automatically in Files → Downloads → Screenshots
📍 This snippet is optimized for Google’s Featured Snippet box.
👋 Who This Guide Is For
If you’re new to Chrome OS, this guide is made just for you.
It’s perfect for:
- Students capturing notes or presentations
- Teachers preparing digital lessons
- Professionals saving reports or meetings
- Everyday users who want to share memes, chat screenshots, or online receipts
No matter your Chromebook model (Acer, HP, Lenovo, Samsung, Asus, or Pixelbook), these methods work flawlessly.
🖥️ Method 1: Full-Screen Screenshot

To capture your entire display:
Steps:
- Press Ctrl + Show Windows (⧉)
- A flash confirms the screenshot
- It’s saved in Files → Downloads → Screenshots
📁 Example File Name:Screenshot 2025-10-12 at 10.30.45 AM.png
📏 Method 2: Partial Screenshot
When you only need a portion of your screen:
Steps:
- Press Ctrl + Shift + Show Windows (⧉)
- The screen dims
- Drag your cursor over the area you want
- Release to capture
💡 Tip: Press Esc to cancel selection.
🪟 Method 3: Window Screenshot
To capture a specific app window:
Steps:
- Press Ctrl + Alt + Show Windows (⧉)
- Click the window you want
- Chromebook captures that window only
Perfect for multitaskers who work with multiple open apps.
✍️ Method 4: Screenshot Using Stylus (Touchscreen Chromebooks)
If you use a touchscreen Chromebook like the HP x360 or Pixelbook:
Steps:
- Tap the Stylus icon on taskbar
- Choose Capture screen or Capture region
- Your screenshot saves instantly
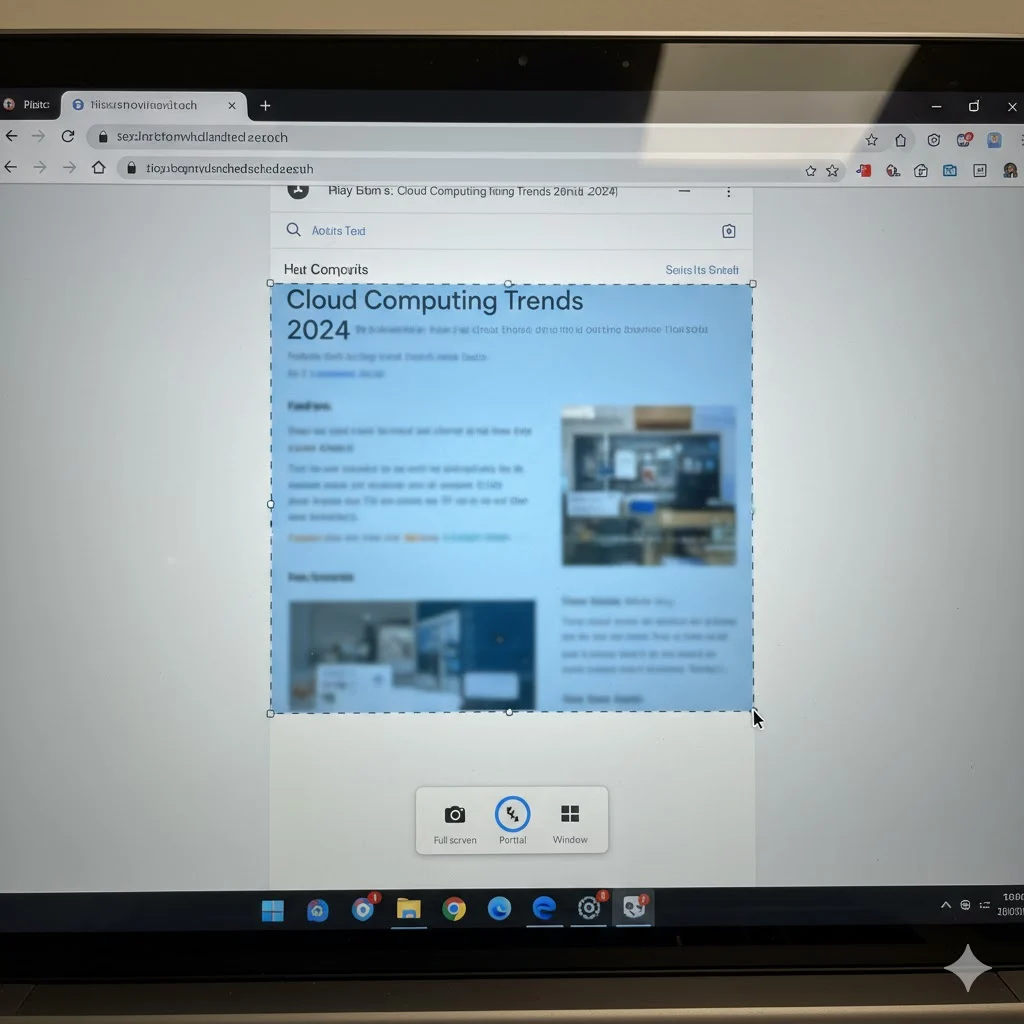
🧰 Method 5: Chromebook Screen Capture Tool
Chrome OS now includes a built-in Screen Capture toolbar.
Steps:
- Press Shift + Ctrl + Show Windows (⧉)
- Toolbar appears at the bottom
- Choose Camera (📷) for screenshots or Video (🎥) for recording
- Click gear ⚙️ icon for advanced settings
📱 Method 6: Screenshot in Tablet Mode
For 2-in-1 Chromebooks:
Steps:
- Press Power + Volume Down together
- The screen flashes → Screenshot taken
Just like on Android phones.
🖮 Method 7: Using an External Keyboard
If your keyboard lacks a Show Windows key:
Use:
- Ctrl + F5 → Full-screen
- Ctrl + Shift + F5 → Partial
- Ctrl + Alt + F5 → Window screenshot
📂 Where to Find and Manage Screenshots
Your screenshots automatically save to:
Files > Downloads > Screenshots
You can:
- Rename files
- Move to Google Drive or Photos
- Organize folders for school, work, or social use
📋 Copy Screenshot to Clipboard
Right after capturing, you’ll see a popup in the bottom-right corner.
Click Copy to clipboard → Paste anywhere with Ctrl + V (Docs, Gmail, or chat).
✂️ Edit Screenshots on Chromebook
Use the Gallery app for quick edits:
- Crop, rotate, or resize
- Add filters and markups
- Adjust brightness/contrast
🧩 Advanced editors:
- Pixlr (browser-based)
- Canva (for design templates)
- Lightshot (for annotation + sharing)
🧯 Troubleshooting Tips
| Issue | Fix |
|---|---|
| Shortcut not working | Restart Chromebook |
| Files app full | Clear Downloads folder |
| Keyboard issue | Try external keyboard |
| Screenshot disabled | Contact school/work admin |
| Screen doesn’t flash | Enable visual notifications |
🔧 Best Chromebook Screenshot Extensions
| Extension | Features | Best For |
|---|---|---|
| Lightshot | Drag-and-drop capture, annotate | Fast sharing |
| Nimbus | Record + Screenshot + Cloud | Professionals |
| Awesome Screenshot | Capture + blur + video | Teams |
| Fireshot | Full web page capture | Bloggers |
📎 All available on the Chrome Web Store.
🕹️ Shortcut Summary Table
| Action | Shortcut | Mode |
|---|---|---|
| Full-screen screenshot | Ctrl + Show Windows | Standard |
| Partial screenshot | Ctrl + Shift + Show Windows | Selective |
| Window screenshot | Ctrl + Alt + Show Windows | Focused |
| Tablet mode | Power + Volume Down | Touchscreen |
| Clipboard copy | Use screenshot popup | Instant paste |
| Open Screen Capture tool | Shift + Ctrl + Show Windows | Toolbar access |
💾 Change Screenshot Save Location
Prefer saving to Drive or custom folders?
Steps:
- Open Screen Capture tool
- Click ⚙️ Settings icon
- Under “Save to,” choose your preferred folder
📍 Now screenshots go exactly where you want them!
💡 Expert Tips for Chromebook Users
- Use Screen Capture tool for screen recording tutorials
- Combine screenshots in Canva for presentations
- Press Ctrl + Z in Gallery to undo edits
- Pin Screen Capture tool to your shelf for one-click access
❓ FAQs About Chromebook Screenshots
1. Where are screenshots saved on Chromebook?
In Files → Downloads → Screenshots by default.
2. Can I screenshot in Incognito Mode?
Yes, but URLs and tabs remain hidden for privacy.
3. How can I share a screenshot quickly?
Click the preview popup → Share → choose Gmail, Drive, or Photos.
4. Can I change the format to JPG?
Yes — convert using CloudConvert or Pixlr.
5. Screenshot not working on school Chromebook?
Admins might restrict screenshots — contact your IT team.
6. Can I blur private info?
Yes, use Awesome Screenshot or Canva blur tool.
7. How do I paste a screenshot in Docs?
Take screenshot → Copy to clipboard → press Ctrl + V in Google Docs.
8. Can I record the screen instead?
Yes — use Screen Capture tool → switch to Video icon 🎥.
9. Do screenshots sync to Google Drive automatically?
Not unless you change save location manually.
10. How do I print a screenshot?
Open screenshot → Ctrl + P → select printer.
🏁 Conclusion
Learning how to screenshot on Chromebook is fast, easy, and essential in today’s digital workflow. Whether you’re using a stylus, keyboard, or tablet mode, Chrome OS offers multiple built-in screenshot tools that make capturing seamless.
By mastering these shortcuts — Ctrl + Show Windows, Ctrl + Shift + Show Windows, and Ctrl + Alt + Show Windows — you’ll save time, share content easily, and boost productivity.
So go ahead — try it now and capture your screen like a pro! 💻📸